Hey! I recorded a video course!
If you like this article, you will also like the course! Check it out here!
Recently, I attended a great talk by the creator of the Nerves library, Frank Hunleth, organized by the wonderful ElixirKenya community. He presented his nerves_livebook-project, which showcased how to setup Livebook on a Nerves device. I found the topic incredibly interesting since it solved an issue I encounter every time I use Nerves. Here’s a shortened setup tutorial for how to setup Livebook on your Nerves device.
If you have ever worked with Nerves and embedded devices before, you might know how tedious updating the code running on your device can be. Usually, I write code in VS Code, bundle it into a new firmware version, and upload it to the running device with mix firmware && ./upload.sh. The device then would check that the updated firmware boots correctly, shut down the old code, and switch over to the new version. All in all, this usually takes about 2-3 minutes. It doesn’t sound like much, but hot reloading became a thing not without reason. Especially when I write code “exploratively”, that is just trying things out until they work, I often miss the Simply reload your website and you'll see the new version-comfort of hot reloading code.
Until recently, there were limited ways of achieving “hot reloading” with Nerves. I could simply copy&paste updated code into the ssh console running on the device. It works well with modules, since they get overwritten. However, I would usually write the code in the ssh console and copy it into a file on my computer. Then, I would copy&paste the entire module from the file back into the ssh console and voilá: The device now holds the updated version of a module. It works, but it is tedious and requires a lot of copy&pasting.
Another option was to use the Mix.Tasks.Upload.Hotswap library. I would start an elixir node on my computer and connect it to an elixir node running on the device. Whenever I change the code on the computer, I run mix upload.hotswap, and the new code gets deployed to the device automagically. This library is pretty cool but requires a bit of setup, and I would still need to write the code in the ssh console to “just try things out”.
🔗 The Solution: Livebook
In April 2021, José Valim announced Livebook, a web application for writing interactive and collaborative code notebooks in Elixir. Livebook is very similar to Jupyter Notebooks, the go-to standard for writing, running, and sharing code in the Python community. Livebook allows the developer to write and execute code in script-like snippets and offers easy documentation with Markdown and other fancy features.
When Frank presented Livebook on a Nerves device, I immediately realized its potential for writing and testing code directly on my device without having to copy&paste it to or from my computer. If you work with GPIO or I2C connected modules, Livebook makes setting them up and playing around with them so much easier since everything can be done in Livebook’s wonderful UI. Sounds interesting? Let’s get started then!
🔗 Setup
I speed-run a bit through the project setup here, but if you want to learn more about why I configure certain things, check out my Sending text messages with Nerves post.
Let’s first create a new project with:
mix nerves.new nerves_livebook
I usually create a .env-file and set the MIX_TARGET environment variable there:
# Change 'rpi0' to your target (e.g. 'rpi3')
MIX_TARGET=rpi0
Let’s add the Livebook dependencies:
# mix.exs

defp deps do
  [
    ...
    {:livebook, "~> 0.2.0", only: [:dev, :prod]},
    {:vega_lite, "~> 0.1.0"},
    {:kino, "~> 0.2.3"},
    ...
  ]
end
Before we can build the first firmware, we need to configure Livebook. Add the following code snippets to your config.exs and target.exs:
# config/config.exs

config :livebook, LivebookWeb.Endpoint,
  pubsub_server: Livebook.PubSub,
  live_view: [signing_salt: "livebook"]

config :livebook,
  default_runtime: {Livebook.Runtime.Embedded, []},
  authentication_mode: :password,
  token_authentication: false,
  password: System.get_env("LIVEBOOK_PASSWORD", "nerves"),
  cookie: :nerves_livebook_cookie

config :phoenix, :json_library, Jason
# config/target.exs

config :livebook, LivebookWeb.Endpoint,
  url: [host: "nerves.local"],
  http: [
    port: "80",
    transport_options: [socket_opts: [:inet6]]
  ],
  code_reloader: false,
  server: true,
  secret_key_base: "z9/3PbKl5GFeH3OJ8iHq7d8NyJg7SbzQ00yn5WgWlYpRCe0q0dVf4CWuqmYwgXKV"

config :livebook,
  root_path: "/data/livebooks"

config :nerves_ssh,
  user_passwords: [{"livebook", "nerves"}, {"root", "nerves"}]
If you connect to your device via USB, you are done now. Otherwise, make sure to configure the wlan0 connection as well. If you are not sure whether you need the following config, simply run ssh nerves.local when your device is booted up. If you get a ssh connection, you don’t need to configure wlan0. Otherwise, you do.
🔗 Using Livebook
After you set the above configuration, plug your microSD card into your computer. Run the following command:
mix do deps.get, firmware, firmware.burn
This command will fetch the dependencies, build a firmware, and burn it to your microSD card. After the above command finished, remove your microSD card from your computer and plug it into your device. Start your device, wait for 1-2 minutes, and then access http://nerves.local.
You should see the following prompt:
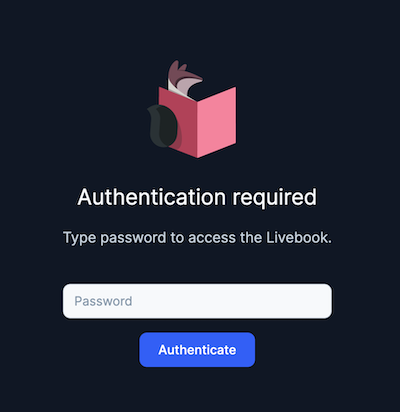
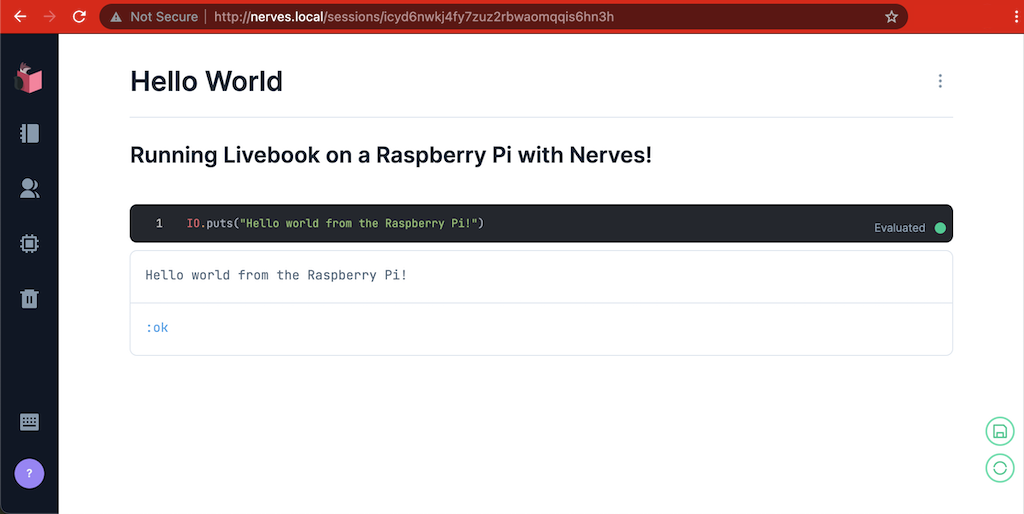
Enter the password nerves and you should see the Livebook!
🔗 Caveat
Your livebooks are written to your device and not to your computer. So, if you ever overwrite or delete the filesystem of your device, then all of your livebooks will be gone. Therefore, backup your livebooks to your computer regularly. Also, if you know a better way to backup your livebooks, please let me know on Twitter!